How to Draw a Mug of Coffee: A Practical Step-by-Step Guide
Reading time: about 8 minutes
A coffee mug looks simple until the rim turns into a flat circle and the handle drifts off the side. In our store, we see the same thing happen with plain ceramic mugs on kitchen counters and office desks: the drawing feels right in the middle, then the perspective falls apart at the top or at the handle.
If you want to learn how to draw a mug of coffee without guessing at every line, start with the mug as a solid object first. The coffee comes later. That order keeps the cup believable, and it is the same way we look at a product photo when we check a mug's shape, glaze, and handle balance.
What should I sketch first on a coffee mug?
Start with the body as a simple cylinder. A coffee mug is basically a short, open-sided form with a slight taper or a straight wall, depending on the model. Draw a light centerline, then build the outer shape around it before you add the handle or the coffee.
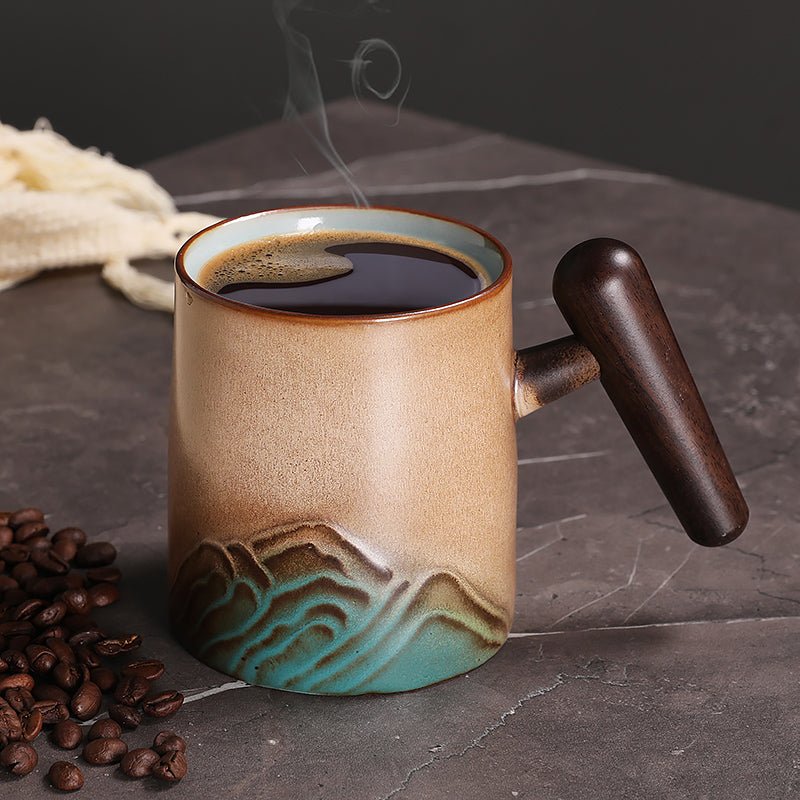
A clean reference helps here. The The Flow Coffee Tea Mug is a good example of a simple, readable silhouette, and our full mug collection makes it easy to compare different body shapes side by side.
- Draw a vertical centerline so the mug stays balanced.
- Block in a short cylinder or a very slight taper.
- Add an ellipse for the top opening. Keep it light at first.
- Mark the base with a smaller ellipse or a flattened bottom edge.
- Attach the handle after the body is already sitting correctly in space.
The biggest early mistake is drawing the mug as a flat rectangle. Real mugs have volume. Even a simple white diner mug has a round opening, a curved wall, and a base that reads differently from the top because of perspective.
How do I draw the mug handle so it looks attached?
The handle should feel like it belongs to the body, not like a separate loop floating nearby. We usually see two problems: the handle is too far from the mug, or the attachment points do not match the curve of the cup. Both make the drawing look pasted together.
Think of the handle as a thick band with an inner gap. It should mirror the mug's angle, and the inner opening should taper slightly as it moves away from you. If the mug is turned three-quarters toward the viewer, the handle will show some thickness on the far side and a narrower opening on the near side.
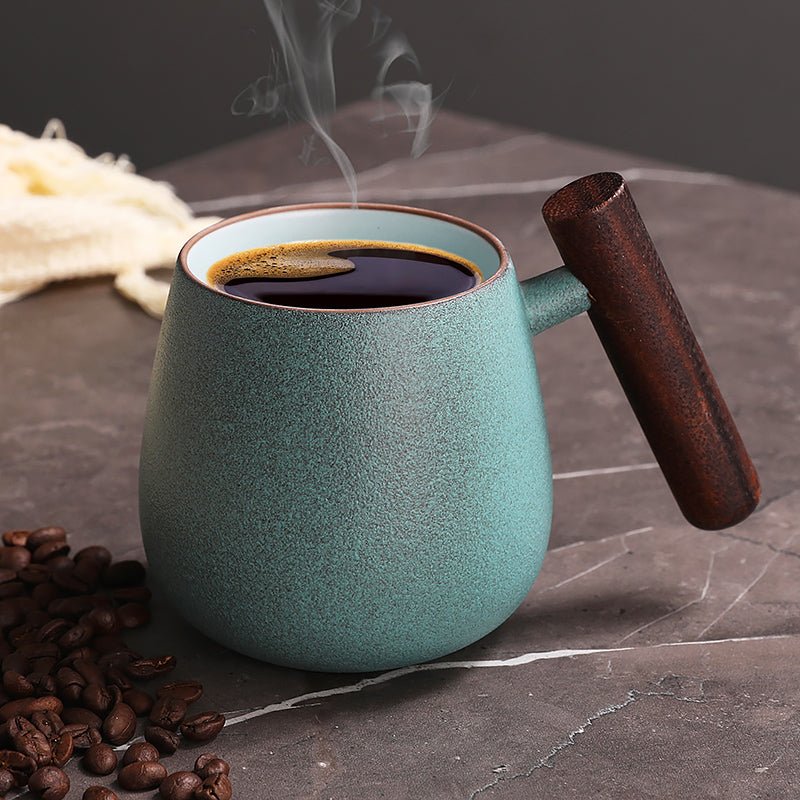
If you want to study a sturdier shape, the Mountain Sea Coffee Tea Mug and the Spittoon Coffee Tea Mug are useful references because they read as fuller, more grounded forms. That matters if you are drawing a mug that sits heavy on a desk instead of a delicate teacup.
We also recommend checking proportions against real buying guides when the cup size matters to your sketch. Our posts on 10 oz Coffee Mug: Size, Fit, and What to Check Before You Buy, 11 oz Coffee Mug: Size, Fit, and What to Check Before You Buy, and 12 oz Coffee Mug Buying Guide for Fit, Comfort, and Daily Use are good if you want proportions that match a real everyday mug rather than a generic sketch.
What shape should the top of the coffee look like?
The opening is an ellipse, not a circle. That sounds obvious, but it is where many sketches go wrong. If you are looking down into the mug, the ellipse is wider. If you are viewing it from eye level, it compresses and the far rim should be visible but thinner.
For coffee itself, draw a second ellipse inside the opening to show the liquid surface. Keep that line a little lower than the rim unless the mug is nearly full. If the coffee sits below the lip, the mug instantly feels more believable.
| View | What the rim should do | Common mistake |
|---|---|---|
| Close-up on a desk | Top ellipse feels wide and shallow | Drawing a perfect circle |
| Three-quarter view | Far edge is thinner than the near edge | Making both sides the same thickness |
| Top-down angle | Ellipse gets close to circular but still reads as open | Hiding the side wall completely |
If you are drawing a mug from a real kitchen table, that rim angle changes fast as you shift your eye level. That is why the same mug can look right in one sketch and wrong in another.
How do you shade ceramic, coffee, and steam without overworking it?
Ceramic usually gives you one clean highlight and one softer reflected light, especially on a glossy glaze. On a plain mug, the highlight often sits on the shoulder or along the handle, while the underside falls into a softer shadow. Keep the cast shadow anchored directly under the base if the mug is sitting flat on a table.
If the highlight is too sharp everywhere, the mug starts to look like plastic or metal.
- Pick one light source and keep it consistent across the mug, handle, and coffee surface.
- Darken the inside lip more than the outside wall so the opening reads as depth.
- Use a softer tone on the coffee surface and a slightly darker tone near the inner edge.
- Draw steam as broken, curved marks, not as straight vertical lines.
- Leave a small cast shadow under the handle if it is hovering away from the body.
We see a lot of sketches that over-render the steam. A few loose lines are usually enough. If the cup is meant to feel warm, the steam should support the form, not steal attention from it.
Which mug styles are easiest for a beginner to draw?
A plain ceramic mug with a clean silhouette is the easiest place to start. Straight-sided mugs and slightly tapered mugs are more forgiving because their edges are easy to read in pencil. A matte or satin glaze is also simpler to shade than a dark, mirror-like finish.
- Straight-sided mug: best for learning ellipse placement and handle attachment.
- Slightly tapered mug: good for understanding how a cup narrows toward the base.
- Heavy rounded mug: helpful if you want to practice soft shading and volume.
- Patterned or highly reflective mug: not the best first subject because the reflections hide the form.
A heavily printed mug is a poor first subject if your goal is structure. The same goes for very dark or glossy mugs, because the highlights can confuse the outline. If you want a clean study, plain ceramic is better than a busy pattern.
What mistakes do we see most often in mug sketches?
The most common problems are small, but they change the whole drawing. A top ellipse that is too flat makes the cup look crushed. A handle that is too far from the body makes the mug feel detached. A coffee line that ignores the angle of the cup makes the liquid look pasted on.
- Rim drawn as a circle instead of an ellipse.
- Handle attached too high, too low, or only at one point.
- Wall thickness ignored, so the mug looks like a paper cup.
- Shadow missing under the base, which makes the cup look like it is floating.
- Steam drawn as straight lines, which makes it feel stiff instead of warm.
If you need an exact drawing for packaging, a menu, or a product mockup, measure the mug instead of eyeballing it. Freehand sketching works well for concept art and practice pages, but technical work needs the actual height, opening width, and handle span.
That trade-off matters. Quick sketching gives you energy and speed. Measured drawing gives you accuracy. They are not the same job.
Frequently asked questions
How do you draw a coffee mug step by step?
Start with a light cylinder, then add the top ellipse and the base. Once the body sits correctly, attach the handle and place the coffee surface inside the opening. Finish with shadow and a simple highlight so the mug reads as ceramic instead of a flat outline.
How do you make a mug look 3D on paper?
Use perspective in the rim, keep the far edge thinner than the near edge, and add one cast shadow under the base. A small highlight on the glaze helps, but the real trick is keeping the body slightly curved instead of drawing straight side walls. That curve is what makes the mug feel round.
What is the easiest mug shape for beginners to draw?
A plain, lightly tapered ceramic mug is the easiest. It gives you a clear silhouette, a readable handle, and enough surface to practice shading without fighting patterns or reflections. A white or light-colored mug is usually the easiest subject to start with.
Should I draw steam on a coffee mug sketch?
Only if the steam adds something to the scene. A few loose curved lines can make the cup feel warm and used, but too much steam can hide the mug's shape. If the goal is to study form, leave the steam out on the first pass.
How do I know if the mug handle is in the right place?
Check whether the handle follows the mug's curve and attaches near the upper and lower thirds of the body, not dead center. It should feel balanced and easy to grip, not like a loop floating beside the cup. If the handle looks separate, move it closer and redraw the attachment points.
Before you sketch your next mug, check three things: the rim ellipse, the handle attachment, and the base shadow. Then pick a plain reference from our full mug collection and compare it with the clean profile of The Flow Coffee Tea Mug so you can practice on a shape that actually behaves like a real cup.
Read more
Princess House Coffee Mugs: What Buyers Should Check First
We break down what matters on princess house coffee mugs: condition, size, handle comfort, and the details that separate display pieces from daily-use mugs. You will also see practical modern alter...
Weiterlesen
Stranger Things Coffee Mug Buying Guide for Fans and Gift Shoppers
A Stranger Things coffee mug should do more than sit on a shelf. Here’s how we compare size, shape, comfort, and care so you can pick one that actually gets used.
Weiterlesen
Hinterlasse einen Kommentar
Diese Website ist durch hCaptcha geschützt und es gelten die allgemeinen Geschäftsbedingungen und Datenschutzbestimmungen von hCaptcha.