
How to Draw a Coffee Mug: Simple Shapes, Proportions, and Shading
Reading time: about 9 minutes
A mug drawing usually goes wrong at the rim, not the body. The cylinder looks fine for a few lines, then the handle lands too high, the top opening turns into a circle instead of an ellipse, and the whole sketch starts to feel flat.
We see that all the time when people sketch from a kitchen counter reference or from an office mug sitting beside a laptop. The fix is not more detail. It is better structure. If you want a practical way to learn how to draw a coffee mug, start with the same shapes we use when we evaluate real mugs: a simple body, a controlled ellipse, and a handle that matches the viewing angle.
If you want to compare shapes while you sketch, our all mugs collection is a useful reference point. Some profiles are easy to draw. Others, like a tall tapered cup or a faceted silhouette, force you to think about perspective instead of tracing a generic cylinder.
What shape should you draw first?
Start with the mug as a boxy cylinder, not as a finished mug. The simplest construction is two vertical sides, a top ellipse, and a curved base. That gives you a stable structure before you add the handle or shading.
In our experience, this order saves time because most problems come from proportion drift. If the body is too wide, the handle looks flimsy. If the rim is too round, the mug feels like a bowl. If the bottom is too open, the mug starts to look like a planter instead of drinkware.
- Lightly draw a vertical center line.
- Mark the mug height and width with two simple guide lines.
- Sketch the top ellipse to match the viewing angle.
- Build the body with slightly tapered sides if needed.
- Close the base with a soft curve or a narrow oval.
That structure works for ceramic mugs, stoneware mugs, and most everyday coffee cups. It is less useful for highly irregular novelty mugs, where the body shape itself becomes the subject.
How do you draw the rim so it does not look flat?
The rim is what makes the mug read as three-dimensional. A top-down circle usually looks wrong unless the mug is viewed directly from above. Most of the time you want an ellipse.
Keep the ellipse narrow if the mug is viewed from eye level. Widen it only when you are looking down into the cup. Then draw a second, smaller ellipse just inside the first one to show wall thickness. That thin band is a small detail, but it makes a big difference.
For practice, a straight-sided mug is easier than a heavily tapered one. A taller vessel such as our White Golden Waves Tall Coffee Tea Mug is useful as a reference because the vertical form makes the rim angle easier to read, but the height also means your perspective needs to stay consistent from top to bottom.
If you want more help with mug anatomy and the drinking edge specifically, our guide How to Draw a Mug of Coffee: Step-by-Step Guide for Realistic Shapes goes deeper into the cup body and handle relationship.
Where should the handle go?
The handle is the part most people place too high or too small. On a real mug, the handle usually attaches near the upper half of the body, but not flush with the rim. Leave enough space so the mug still reads as a vessel with a lip.
Draw the handle as a separate shape first. Think of a thick C or D form, then attach it to the mug with small connection points. If the handle is too thin, it can look fragile. If it is too bulky, it overpowers the cup.
Here is a simple rule we use when looking at product photography and display samples:
- Handle too small: the mug feels toy-like.
- Handle too wide: the mug looks awkward and heavy.
- Handle too close to the body: fingers would not fit comfortably.
- Handle too far from the body: it stops feeling structurally attached.
A shaped mug can help you study handle placement. The Handbag Coffee Tea Mug is a good example because the silhouette is unusual, so the handle and body relationship becomes obvious immediately. It is not the easiest mug to draw, but it is a strong reminder that the handle should support the form, not float beside it.
How do you shade a mug without making it look dirty?
Shading a mug is mostly about controlling the highlight and the shadow. Ceramic, glazed stoneware, and porcelain often have a clean reflective surface. If you shade too heavily, the mug can look stained instead of glossy.
Use a light source from one side and keep one clean highlight strip along the curved body. Then add a soft shadow on the opposite side. The inside of the mug usually gets darker near the far wall and lighter near the opening, depending on the angle.
Three details matter here:
- The rim casts a thin shadow on the inside wall.
- The handle usually creates a narrow shadow where it meets the body.
- A glossy glaze often shows a bright vertical reflection, even on a simple white mug.
If you are drawing a mug that has surface patterning, keep the shadow clean enough that the pattern still reads. Our Rhombus Coffee Tea Mug is a useful reference for that because faceted surfaces break the light differently than a plain round mug. That is great for a drawing exercise, but it is less forgiving if you want a quick, simple sketch.
Which mug styles are easiest to draw from real life?
Not every mug is equally easy to sketch. If you are practicing from a real object on a desk or kitchen counter, some shapes are much more forgiving than others.
| Mug style | Why it is easier or harder | Best use while learning |
|---|---|---|
| Plain ceramic mug | Simple cylinder shape, easy rim ellipse, standard handle placement | Best first reference |
| Tall mug | Height makes proportions more noticeable, but the silhouette is clear | Good for perspective practice |
| Faceted mug | Edges create shape breaks and stronger light changes | Good once you can handle basic form |
| Novelty mug | Irregular curves and handles can distract from core structure | Best for advanced sketching |
For shoppers who like unusual shapes, these differences also matter in real use. A tall mug can feel great on a desk because it looks clean and holds space well, but it is not the easiest shape if you are trying to sketch it quickly. A faceted mug can look sharp on a shelf, but it demands more care in drawing and in cleaning lines if the glaze texture is prominent.
If you want sizing context while you sketch from life, our posts 11 oz Coffee Mug: Size, Fit, and What to Check Before You Buy and 12 oz Coffee Mug Buying Guide for Fit, Comfort, and Daily Use help show how capacity and shape affect the silhouette you are drawing.
What mistakes should you avoid when sketching a coffee mug?
Most bad mug drawings have the same problems. The outline may be neat, but the perspective is off. The handle may look added last. Or the walls may be the same thickness all the way down, which removes the sense of weight.
- Do not draw the top as a perfect circle unless the viewer is above the mug.
- Do not make the handle a tiny loop that cannot hold a hand.
- Do not forget the inner rim line.
- Do not shade every area equally; mugs need contrast.
- Do not over-texture smooth glazed ceramic unless the design calls for it.
One practical trade-off: mugs with strong printed patterns are harder to draw accurately because the decoration wraps around the cylinder. That is also why many people start with plain white or neutral mugs. They let you focus on shape first, which is the part most buyers and sketchers notice anyway.
How can you practice with real mugs from our store?
The fastest way to improve is to draw from objects you can set on a table and rotate a few degrees at a time. A mug on a kitchen counter gives you clearer geometry than a reference image because you can change the angle and check where the handle sits relative to the rim.
In our store, we think about mugs the same way a sketcher does: body shape, handle comfort, and how the surface catches light. That is why it helps to compare a simple everyday mug to a more distinctive one before you start shading.
Try this sequence:
- Place one mug at eye level on a desk.
- Sketch the silhouette in 60 seconds.
- Rotate the mug slightly and draw it again.
- Compare a plain shape to a faceted or taller shape.
- Notice how the ellipse changes with the viewing angle.
If you want a broader product reference while you practice, browse the full collection and compare body shapes, handle styles, and rim heights. You will see quickly that not every mug can be drawn the same way, and that is the point.
Frequently asked questions
How do I draw a coffee mug step by step for a beginner?
Start with a cylinder, add a top ellipse, then place the handle as a separate C-shaped form. Keep the body and handle light until the proportions feel right, then add the inner rim and simple shading. That sequence is easier than starting with details.
How do I make the mug look 3D instead of flat?
Use an ellipse for the rim, show the inner wall, and shade one side of the mug more than the other. A narrow highlight strip on the glaze also helps. Flat mug drawings usually fail because the opening and body share the same line weight.
Is it easier to draw a ceramic mug or a travel mug?
A ceramic mug is easier because the body is usually a simple cylinder with a visible handle. Travel mugs add lids, tapered walls, and often a narrower profile, which makes perspective more demanding. If you are learning, start with a standard ceramic mug first.
What should I pay attention to if I am drawing from a real mug?
Check the rim angle, the handle attachment points, and the widest part of the body. Those three details control whether the mug feels believable. Surface patterns matter too, but only after the main shape is correct.
Are unusual mugs harder to draw?
Yes. Faceted, tall, or novelty mugs are harder because they change the silhouette and light behavior. They are great practice once you can sketch a basic mug confidently, but they are not the best starting point for a beginner.
If you want to practice with real shapes next, compare a plain mug, a tall mug, and a faceted mug, then choose the one that matches your drawing goal. For a quick reference set, start with our Rhombus Coffee Tea Mug, the Handbag Coffee Tea Mug, and the White Golden Waves Tall Coffee Tea Mug before moving back to the full collection for more shapes.
Read more
Coffee Mug Ounces: How to Pick the Right Size for Daily Coffee
Coffee mug ounces are more useful when you connect them to how you actually drink coffee. We break down the sizes that work on kitchen counters, office desks, and gift orders, plus what to choose w...
Read more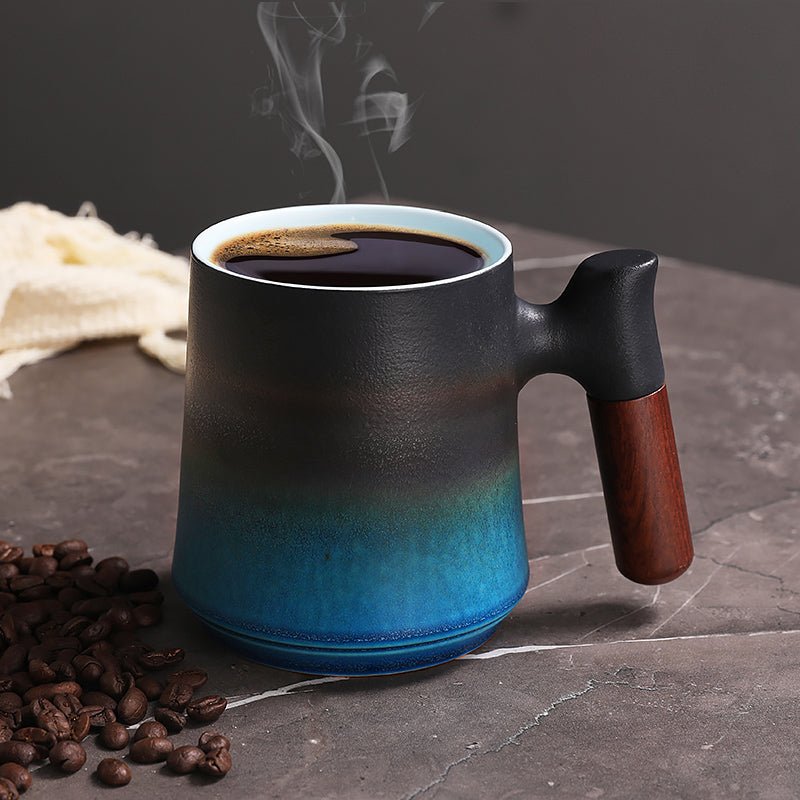
Best Ceramic Coffee Mug: What to Look For Before You Buy
We break down what makes the best ceramic coffee mug for daily use: shape, glaze, handle feel, heat retention, and care. We also point to a few store picks for different routines and desk setups.
Read more
Los kommentaar
This site is protected by hCaptcha and the hCaptcha Privacy Policy and Terms of Service apply.