How to Draw a Mug of Coffee: Step-by-Step Guide for Realistic Shapes
Reading time: about 9 minutes
One of the easiest drawing exercises is also one of the easiest to get wrong: a coffee mug looks simple until the rim turns lopsided or the handle floats away from the cup. When we sketch product photos or plan imagery for our store, we start with the same advice we give anyone learning how to draw a mug of coffee: build the object first, then add the coffee, steam, and shading.
If you keep the structure honest, the drawing gets much easier. If you skip the structure, the mug starts to look like a cup icon instead of a real object sitting on a counter.
What should you sketch before the outline?
Start with the mug as a simple cylinder in perspective. Do not begin with the handle or the steam. Those details only work after the cup has a believable volume.
- Draw a light horizontal line for the tabletop.
- Place a wide ellipse for the rim. If the mug is viewed from above, that ellipse opens up. If it is seen from eye level, it flattens.
- Drop the sides down from the ellipse with a slight taper if the mug narrows toward the base.
- Mark the center line so the handle does not drift too far left or right.
A lot of beginner sketches fail because the top ellipse and side walls do not agree with each other. The rim says one angle, the body says another, and the mug feels unstable. Keep the lines light until the proportions settle.
If you want a real product shape to study, compare your sketch against The Flow Coffee Tea Mug. For a wider range of silhouettes, browse our full mug collection and pick the shape that matches the view you want to draw.
How do you build the mug shape without making it look flat?
A believable mug usually needs two nested ellipses: one for the outer rim and one for the inside opening. Even if you do not fully draw the bottom ellipse, you should think like the mug has a base and wall thickness. That small rim thickness is what keeps the cup from turning into a paper cutout.
In our experience, the most common shape problem is a top rim that is too thin. Real mugs have a visible lip, and that lip catches light. If you draw only one outline, the mug reads like a flat graphic. If you show the inside wall as a second line just below the rim, the object starts to feel solid.
Use this quick shape check:
- Draw the outer ellipse.
- Draw a second, smaller ellipse inside it for the opening.
- Connect the rim to the body with short, smooth side lines.
- Keep the left and right sides similar unless the mug is strongly turned.
This is also where reference matters. A mug with a tall body and narrow mouth will draw differently from a short, wide breakfast mug. If you are choosing a reference, the exact silhouette matters more than the brand name on the cup.
How do you draw the handle so it feels attached?
The handle is where a lot of mug drawings fall apart. It cannot simply float beside the cup. On an actual mug, the handle meets the body at two attachment points, and the negative space inside the handle matters as much as the outside curve.
Draw the handle as a rounded rectangle or soft oval, then carve out the inner opening. Leave a small gap between the handle and the mug body if you want the attachment to read clearly. That gap also gives you a place to drop a shadow, which makes the handle look anchored instead of pasted on.
Watch for these common handle mistakes:
- The handle is too small for the body, so the mug looks hard to hold.
- The handle opening is too narrow, so the grip looks unusable.
- The handle touches the cup at one point only, which makes it look like a sticker.
- The top and bottom attachment points are not aligned with the mug's center of mass.
We see this same issue in product imagery all the time. If the handle proportion is off, the whole mug looks wrong even when the rim and body are drawn well. Fix the handle early.
How do you make the coffee surface believable?
The coffee surface should follow the same perspective as the rim. If the mug is turned slightly toward you, the liquid line will also appear as a shallow ellipse, not a straight horizontal stripe. That detail alone makes the drawing feel more grounded.
For black coffee, keep the surface dark but not a single dead fill. Leave a thin highlight near one edge if the light source is strong. For latte or cappuccino, the surface can be lighter, with a soft foam edge near the rim. Do not overwork the foam if you are just learning. It is better to make the coffee surface clean than to fill it with busy texture that does not match the rest of the drawing.
If you are sketching steam, keep it restrained. A few soft, upward curves are enough. Too many steam lines turn a simple mug into a cartoon cloud. Steam should feel like air movement, not decoration.
This is also where the drawing style matters. A product-style sketch wants crisp edges and a stable coffee line. A loose illustration can exaggerate the steam and foam, but that approach is not the best fit if you want the mug to look like something you could actually use on a desk or kitchen counter.
Which real mug shapes work best as references?
We usually suggest starting with a mug you can picture on a real table. That keeps the scale honest. A short, wide mug reads differently from a taller 10 to 12 ounce cup, and those differences affect the ellipse, the handle size, and the amount of visible side wall.
| Reference type | Why it helps | What to watch |
|---|---|---|
| The Flow Coffee Tea Mug | Clean silhouette for practicing basic cylinder shape | Keep the rim thickness even |
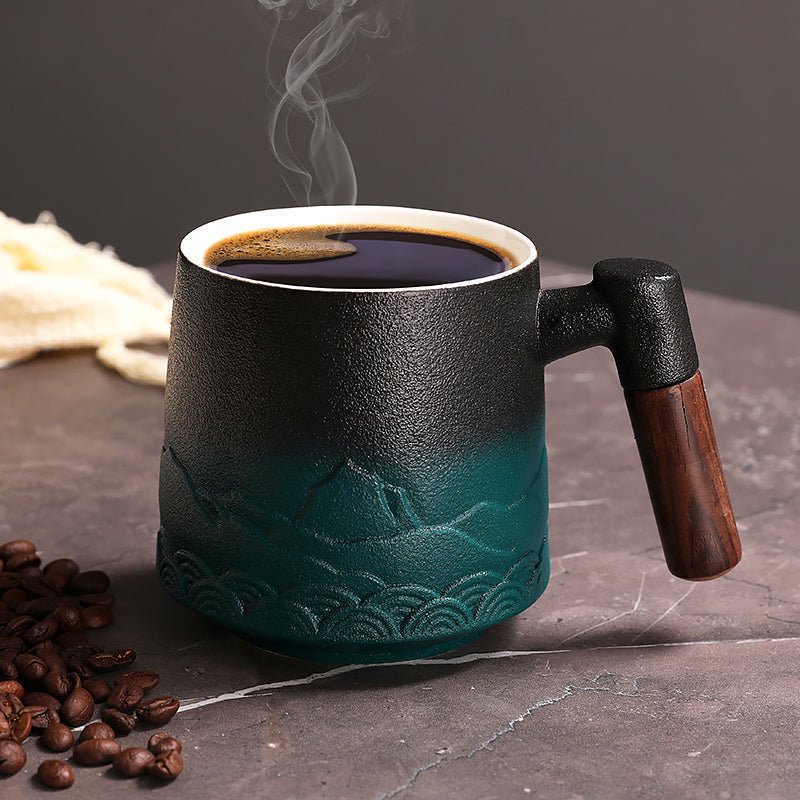
| Mountain Sea Coffee Tea Mug | Useful when you want to compare a different outline and handle relationship | Match the handle spacing to the body |
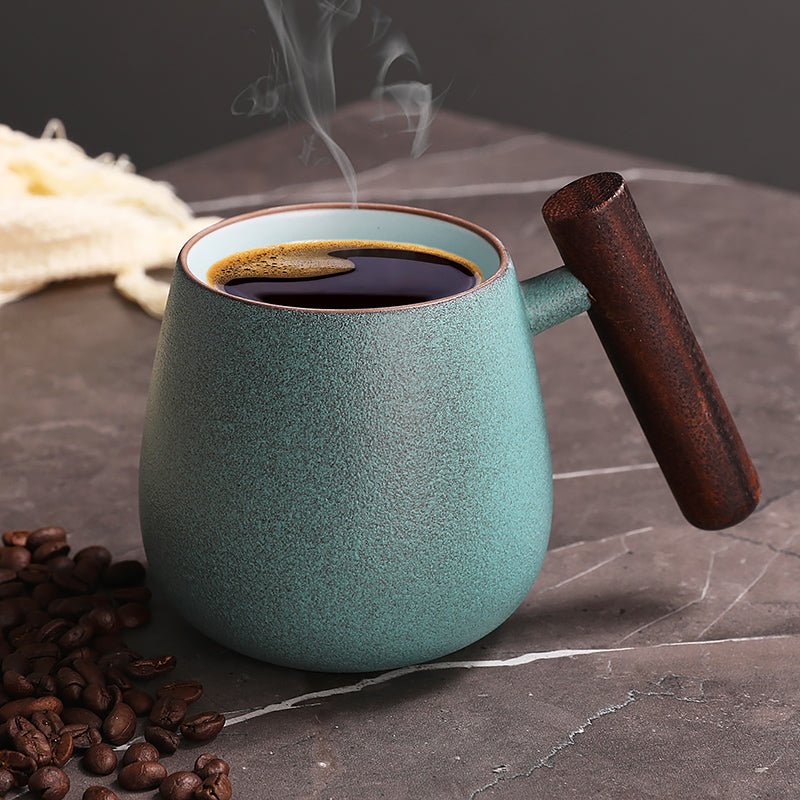
| Spittoon Coffee Tea Mug | Good for studying how a distinct profile changes the overall read | Do not force the same proportions onto every mug |
If you want proportion help before you draw, our size posts on 10 oz Coffee Mug: Size, Fit, and What to Check Before You Buy, 11 oz Coffee Mug: Size, Fit, and What to Check Before You Buy, and 12 oz Coffee Mug Buying Guide for Fit, Comfort, and Daily Use are useful because they frame the same size questions a sketch artist has to solve: how tall the body looks, how wide the mouth opens, and how much handle space the mug needs.
Those guides are not drawing tutorials, but they help you stop guessing. A mug that feels right on paper usually starts with a believable proportion on the page.
What mistakes should you avoid?
The fastest way to improve is to correct the mistakes that make a mug feel fake. These show up often:
- The rim is perfectly flat even though the mug is turned in perspective.
- The body is too straight, so the mug feels like a tube.
- The handle is too thin to hold comfortably.
- The coffee surface ignores the angle of the cup.
- The shadow is missing, so the mug looks like it is hovering.
Another common issue is over-detailing. Real ceramic mugs usually have one or two strong highlights from overhead kitchen lighting, a softer shadow under the rim, and a grounded cast shadow on the table. You do not need a dozen texture marks. A few well-placed values do more work than a crowded surface.
There is also a trade-off between style and accuracy. If you want a playful illustration, you can exaggerate the handle or round the body more than a real mug would allow. If you want a product-style drawing, keep the ellipse disciplined and the wall thickness consistent. Trying to make the same drawing both cute and precise usually weakens it.
What is the simplest step-by-step method to follow?
If you want one clean process, use this sequence. It is the one we would use to mark up a quick concept sketch before a product photo shoot or a packaging mockup.
- Lightly draw the table line and the top ellipse.
- Build the mug body with two smooth sides.
- Add the inner rim so the cup has thickness.
- Draw the handle with a clear inner opening.
- Place the coffee line just below the rim.
- Add a cast shadow under the mug and a smaller shadow where the handle joins the body.
- Finish with one or two highlights if the mug is glazed ceramic.
If you stop after step four, you still have a usable mug sketch. The coffee, shadow, and highlights are what turn it into a finished drawing.
One practical note: if you are drawing from a real mug on a kitchen counter or office desk, move the cup a little before you start. A tiny rotation can make the handle, rim, and coffee line much easier to read on paper.
Frequently asked questions
What is the easiest way to draw a mug of coffee for beginners?
Start with a cylinder, not a cup icon. Draw the top ellipse first, add the side walls, then attach the handle and coffee line after the shape feels stable. Keeping the pencil light in the first pass makes corrections easier.
How do you draw the handle on a coffee mug?
Draw the handle as a soft oval or rounded rectangle, then cut out the inside opening. Make sure it connects to the mug at two points and leaves enough space for a believable grip. A handle that is too small or too flat will make the whole mug look awkward.
How do you make coffee look full inside the mug?
Place the coffee surface just below the rim and tilt it to match the mug's angle. A shallow ellipse reads as liquid better than a straight line. If you want a full cup, keep the surface dark and avoid over-texturing the top.
Should I sketch the mug in pencil or pen first?
Pencil is the better first choice because you can adjust the ellipse, handle, and proportions without fighting the line. Pen works well after the structure is correct. If you go straight to pen, small perspective mistakes are harder to fix.
How do I make a coffee mug look 3D?
Use perspective, rim thickness, and shadow. The mug needs a visible inside wall, a cast shadow on the table, and a light source that creates highlights on the glazed surface. Without those three cues, the drawing will stay flat.
If you want a real mug to sketch next, start by choosing one shape from our full mug collection, then match your ellipse, handle, and coffee line to that reference before you add detail.
Read more
Thanksgiving Coffee Mugs: How to Pick the Right Style for Guests
Thanksgiving coffee mugs do more than decorate the table. This guide compares shapes, gifting value, care needs, and real-use trade-offs so you can choose a mug that looks right and works well afte...
Per saperne di più
Nice Coffee Mugs: How to Choose Ones You’ll Actually Use Daily
Nice coffee mugs are the ones that feel steady in your hand, fit your drink without splashing, and still look good on a kitchen counter. Here’s how we help shoppers compare real options before buying.
Per saperne di più
Commenta
Questo sito è protetto da hCaptcha e applica le Norme sulla privacy e i Termini di servizio di hCaptcha.