How to Draw a Coffee Mug: Simple Shapes and Proportion
Reading time: about 9 minutes
A coffee mug sitting on a kitchen counter rarely looks like the clean circle most beginners draw. The rim reads as an ellipse, the handle bends away from the body, and one side usually catches more light. If you want the sketch to feel believable, the trick is to build the mug from simple forms first, then tighten the edges second.
We handle a lot of mug styles in our store, and the same pattern comes up again and again: the easiest drawings are the ones that respect the mug's silhouette before the details. A good mug sketch does not need perfect realism. It needs clean proportion, a readable handle, and a rim that feels like a real object sitting in space.
What shape should you start with?
Start with a cylinder. That is the simplest way to think about most mugs, even decorative ones. Draw a vertical centerline, then block in the top opening as a light ellipse. The body can be straight-sided or slightly tapered, depending on the mug style you want to draw.
If you are sketching a mug from a three-quarter view, the top ellipse will look wider on the side closer to the viewer and narrower on the far side. That single change does most of the work. The rest is just making sure the mug wall drops down at a consistent angle.
Three details matter early:
- The rim thickness should be visible, even if it is only a thin band.
- The base should feel stable, not like the mug is floating.
- The body should stay symmetrical around the centerline unless you are intentionally drawing an odd handmade form.
If you want a cleaner practice reference, a simple rounded mug is easier than a faceted one. A more angular shape, like our Rhombus Coffee Tea Mug, is useful once you already understand the basic cylinder. It forces you to think about plane changes and edges, not just the outer contour.
How do you draw the rim, body, and handle without losing proportion?
We usually recommend drawing the mug in this order:
- Lightly sketch the top ellipse.
- Drop straight or slightly curved sides down from the ellipse.
- Mark the base width.
- Add the handle attachment points last.
- Refine the contour only after the structure feels balanced.
The rim should never look like a flat line unless you are drawing the mug from straight above. Even then, the inside opening should still read as a shallow ellipse. Beginners often make the body wider at the top than the rim, which breaks the illusion immediately. Keep the top opening and the outer wall in conversation with each other.
The handle is the part that most often goes wrong. It needs a clear gap between handle and body, and the curve should feel thick enough to hold. If the handle attachment points are too high, the mug looks top-heavy. If they are too low, the mug can look awkward and squat. A handle that merges into the body without a visible gap usually reads as a mistake unless you are drawing a stylized product illustration.
For a more unusual profile, the Handbag Coffee Tea Mug shows why handle and body need different treatment. It is not the easiest mug to sketch if you want a standard everyday cup, but it is a useful reminder that the handle can become part of the design language instead of just a functional loop.
What changes when you draw a mug from above, side, or three-quarter view?
The viewing angle changes everything. A mug seen from above emphasizes the rim and the inside opening. A side view hides most of the ellipse and makes the body feel taller and simpler. The three-quarter view sits in the middle, which is why it is the most common angle in product photos and kitchen scenes.
| View | What to emphasize | Common mistake |
|---|---|---|
| Top-down | Rim ellipse, inner opening, handle placement | Drawing the opening as a circle instead of an ellipse |
| Side | Height, wall thickness, base stability | Forgetting that the rim still has depth |
| Three-quarter | Foreshortening, handle curve, visible outer contour | Making both sides of the mug equally visible |
If you are drawing from a real mug on an office desk or a kitchen table, turn the mug a little and study how the ellipse changes. That small rotation matters more than almost anything else. A straight-on sketch can look stiff. A slight angle gives the mug space.
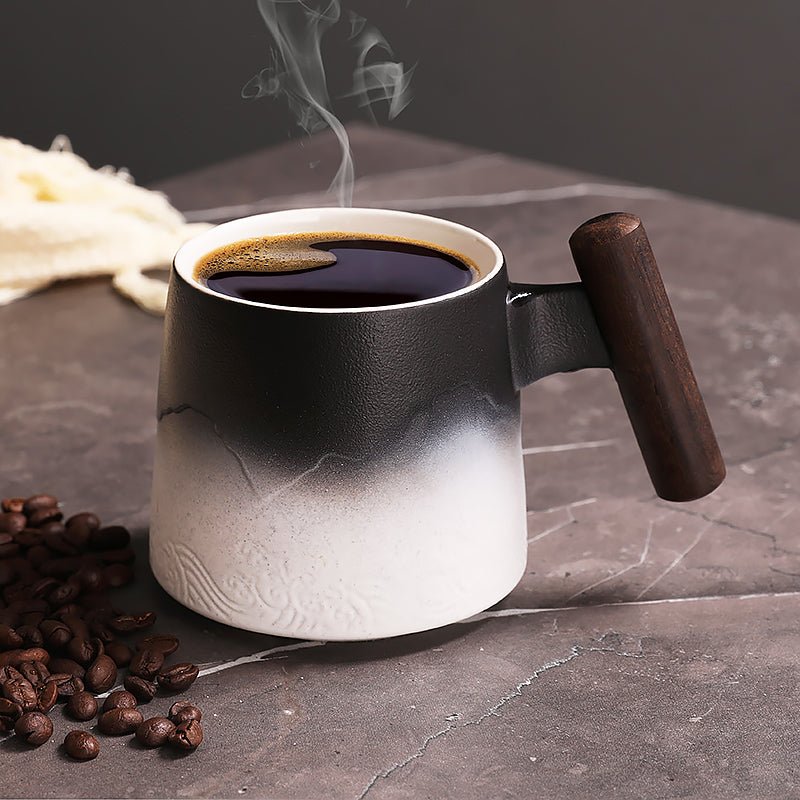
The White Golden Waves Tall Coffee Tea Mug is a good reference when you want to study vertical proportion. Tall mugs force you to keep the sides clean and the base grounded. They are less forgiving than shorter mugs, which makes them useful practice, but they are not the best choice if you want a simple beginner subject.
How do you shade a coffee mug so it looks ceramic?
Shade the mug as if it is a smooth, slightly reflective surface. Ceramic usually gives you a bright highlight, a mid-tone body, and a softer shadow on the far side. The highlight should follow the curve of the mug, not sit randomly in the middle. That curved highlight is one of the fastest ways to make the sketch feel solid.
Use three shading decisions carefully:
- Place the brightest highlight on the side facing the light source.
- Keep the darkest value near the inner rim or under the handle where light cannot reach easily.
- Drop a cast shadow onto the surface so the mug feels like it is actually resting on a table.
If the mug has a glossy glaze, keep the shadow edge softer and the highlight cleaner. If the mug has a matte finish, reduce the contrast and let the surface feel more even. Decorative accents can change the look too. A mug with gold-toned details or metallic-looking trim will usually show a sharper glint than a plain white mug, so do not shade every mug the same way.
One thing we see often when people sketch from memory is over-detailing the texture. A mug does not need heavy line work to look realistic. A clean rim, a believable cast shadow, and a slightly varied contour are usually enough.
Which mug shapes are easiest to use as reference?
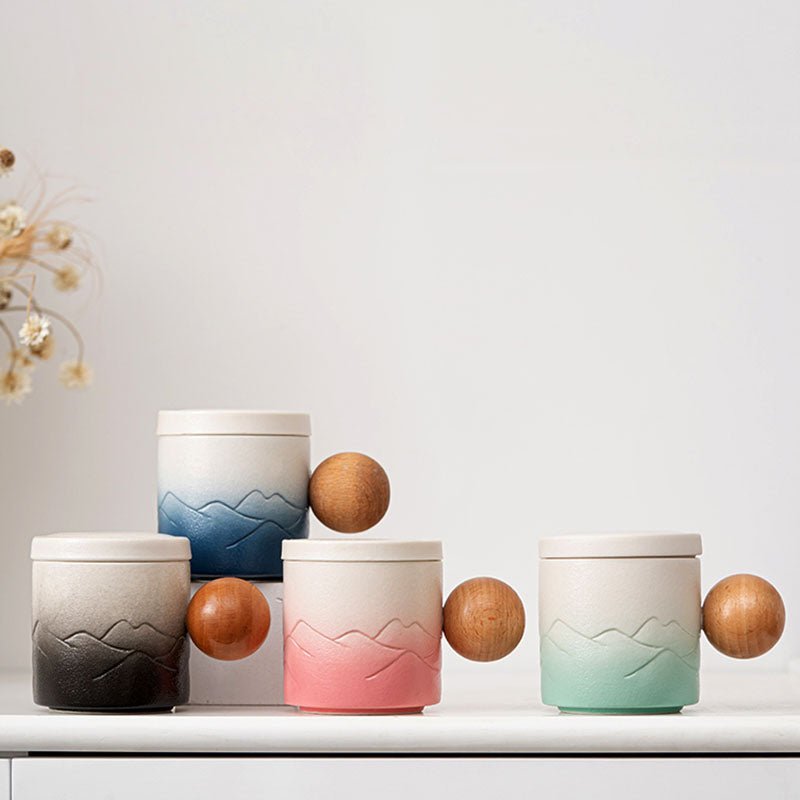
In our store, the mugs that are easiest to sketch are the ones with a clear silhouette and a handle that stands off the body instead of blending into it. That is one reason we like to compare shapes before drawing. If you want a simple starting point, browse our all coffee mugs collection and look for profiles that read well in one glance.
For a practical reference set, the three product styles below show different drawing problems:
- Rhombus Coffee Tea Mug for angular edges and a more geometric silhouette.
- Handbag Coffee Tea Mug for an unusual handle/body relationship.
- White Golden Waves Tall Coffee Tea Mug for height, vertical proportion, and a strong profile.
Those shapes are not equally easy to draw. That is the point. A standard mug is best for learning the basics. A more decorative mug is better once you want to practice shape variation, visual weight, and handle placement. If your goal is a quick classroom sketch, avoid highly stylized forms. If your goal is a product-style illustration, those same forms become useful.
If you want more context on size and fit while you sketch from a real mug, our 10 oz Coffee Mug: Size, Fit, and What to Check Before You Buy and 11 oz Coffee Mug: Size, Fit, and What to Check Before You Buy articles explain why the outer shape does not tell the whole story. Capacity changes the height, wall thickness, and handle balance more than people expect.
That detail matters if you are drawing a mug to match a product photo, gift illustration, or café menu graphic. A mug with a wider belly and shorter height will read differently from a tall narrow mug even if both are nominally similar sizes.
What mistakes make a coffee mug look wrong fast?
Most bad mug drawings fail for the same few reasons. The contour is too perfect, the ellipse is not aligned with the body, or the handle looks glued on as an afterthought. Once you know these failure modes, they are easy to spot.
- Top circle instead of ellipse: the mug loses perspective.
- Handle touching the body everywhere: the mug stops reading as hollow space.
- Uneven side walls: the mug feels warped unless that is intentional.
- No base shadow: the mug looks like it is hovering.
- Overly thick outline: the drawing loses the softness of a real ceramic surface.
We also check for visual balance the same way we would check a physical sample on a table. If the handle is visually heavier than the body, the mug feels off. If the rim is too thick, the mug looks clumsy. If the body leans without a clear perspective reason, the whole shape becomes uncertain.
That is why a real mug reference helps. Sketching from memory is fine for practice, but a product on a desk gives you honest proportion. You can see where the handle begins, how tall the silhouette really is, and how much the rim compresses from your viewing angle.
Frequently asked questions
How do you draw a coffee mug for beginners?
Start with a light ellipse for the rim, then draw a simple cylinder underneath it. Add the handle after the body feels balanced, not before. Keep the lines light until you are sure the proportions work.
How do you make a coffee mug look 3D on paper?
Use one clear light source, then shade the far side of the mug a little darker. Add a curved highlight and a cast shadow on the surface below. Those two details do more than heavy outlining.
How do you draw the handle of a coffee mug?
Attach the handle at two points with a visible gap between handle and body. The curve should be smooth and thick enough to feel usable. If the handle is too thin, the mug looks fragile; if it is too flat, it looks pasted on.
What is the easiest mug angle to draw?
A gentle three-quarter view is usually the easiest because it shows both the rim and the body. You get enough perspective to make the mug feel real without having to solve a difficult top-down ellipse. Straight side views are simpler in shape, but they can look flat.
Can I use a decorative mug as drawing practice?
Yes, but decorative mugs are harder to simplify. They are better for practicing silhouette, handle shape, and proportion than for learning the absolute basics. If you are just starting out, begin with a plain mug first and move to unusual shapes after that.
What should you check before you sketch a mug from a real product?
Before you start, look at the mug the same way our team would inspect a sample: rim shape, handle clearance, base stability, and overall silhouette. Those are the features that survive from photo to sketch. Small details like glaze pattern or color can wait until the form is correct.
A quick checklist helps:
- Choose the viewing angle first.
- Mark the centerline lightly.
- Check the rim ellipse against the body width.
- Place the handle attachment points before refining the contour.
- Add one cast shadow so the mug sits on the page.
If you want to practice with real shapes instead of guessing, start with our collection of coffee mugs and compare a simple mug against a more stylized one. That comparison will teach you more in ten minutes than redrawing the same generic cylinder three times.
More from our blog
Read more
Easter Coffee Mug Ideas for Gifts, Brunch, and Everyday Use
A practical guide to choosing an easter coffee mug that looks good on the brunch table and still works on Monday morning. We compare shapes, size, care, and giftability so you can pick a mug that f...
Read more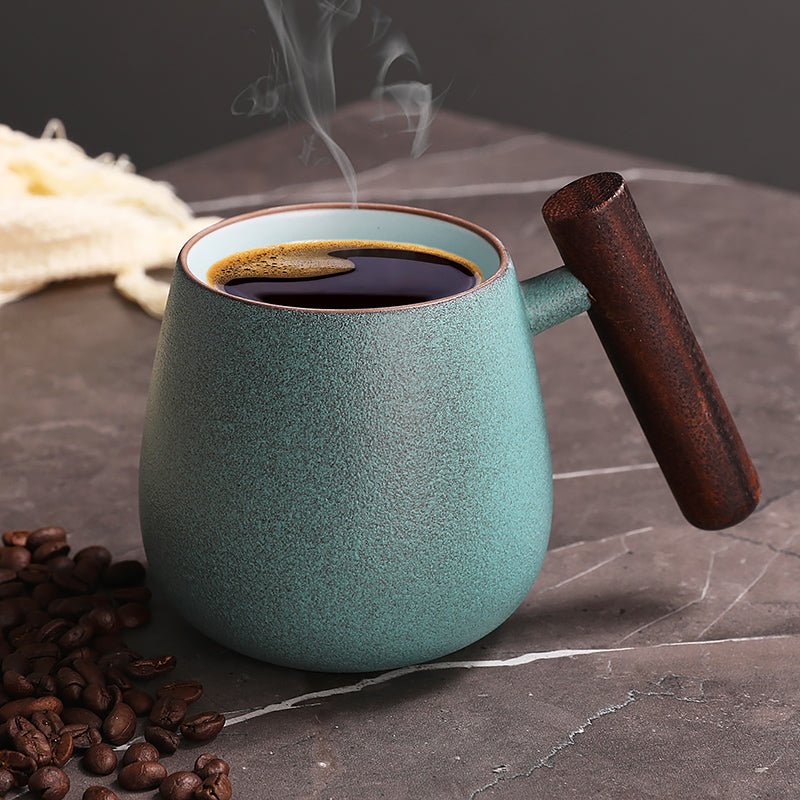
Thanksgiving Coffee Mugs: How to Pick the Right Style for Guests
Thanksgiving coffee mugs do more than decorate the table. This guide compares shapes, gifting value, care needs, and real-use trade-offs so you can choose a mug that looks right and works well afte...
Read more
Leave a comment
This site is protected by hCaptcha and the hCaptcha Privacy Policy and Terms of Service apply.