How to Draw a Mug of Coffee: Shape, Handle, and Real-World Proportions
Reading time: about 10 minutes
A mug sketch usually falls apart in the same places: the ellipse looks too flat, the handle is pasted on too small, and the coffee surface ends up looking like a dark oval floating in space. We see the same problem when people compare real mugs on a kitchen counter and then try to draw one from memory instead of from a shape they can actually observe.
This guide shows how to draw a mug of coffee in a way that feels believable on paper. We are keeping it practical, using the same proportions and shape cues our team pays attention to when we handle mugs in our store, photograph them, and compare them side by side for fit and form.
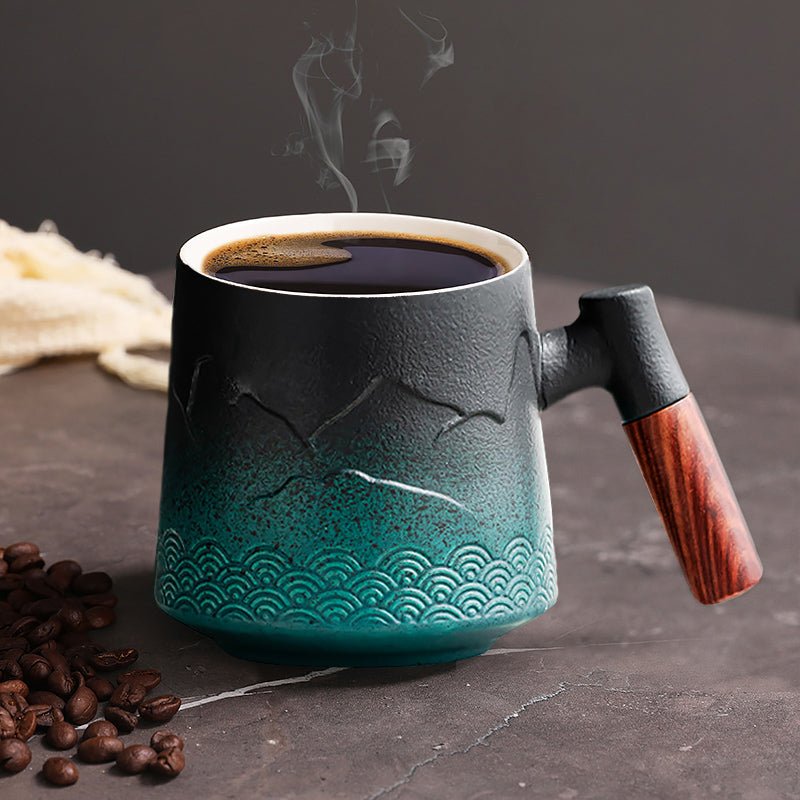
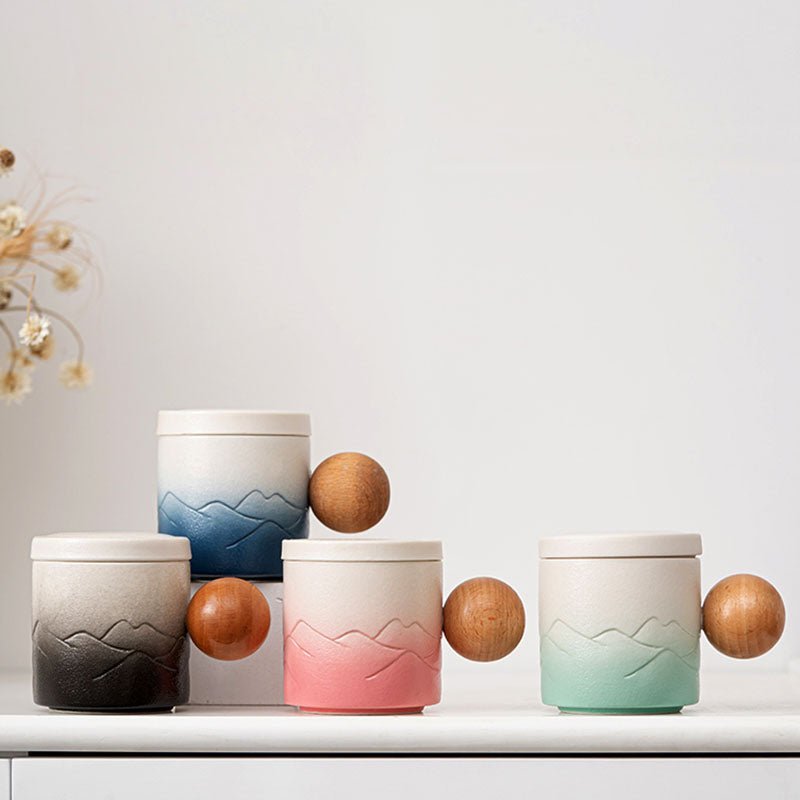
If you want a visual reference while you sketch, it helps to look at real mug silhouettes first. A straight-sided cup, a tapered one, and a wider belly all read differently on paper. Our The Flow Coffee Tea Mug is a good example of a softer, rounded profile, while the Mountain Sea Coffee Tea Mug gives you a cleaner, more directional shape to study. If you want to compare more forms, the full collection makes that easier than guessing from memory.
What should you observe before you start drawing?
Before pencil touches paper, look at the mug as a simple set of volumes: a cylinder, an ellipse, and a handle. That sounds basic, but it is where most good sketches start. A real mug is rarely a perfect cylinder, and the coffee surface is never a perfect circle from every angle.
We usually tell people to check four things first:
- Rim shape: Is the opening seen from above, side, or three-quarter view?
- Body taper: Does the mug stay straight, widen slightly at the top, or flare outward?
- Handle size: Can a hand realistically fit through it, or is it decorative?
- Base contact: Does the mug sit flat on the table, or does it feel like it is hovering?
That last point matters more than most people think. A mug that does not sit convincingly on the surface will look wrong even if the outline is neat. In the shop, we notice the same thing when a cup has an overly narrow base or a handle that shifts the visual balance. A drawing needs the same stability.
How do you sketch the mug shape first?
Start with a light rectangle or a loose box to set the mug's width and height. Then place an ellipse on top for the rim and another, lighter ellipse near the bottom if the base is visible. The sides connect those shapes. Keep the lines simple at first. Do not chase detail too early.
- Draw a faint vertical center line.
- Mark the mug's height and width with two light guides.
- Sketch the top ellipse, making sure the far side is narrower because of perspective.
- Pull the side walls down from the ellipse.
- Indicate the base with a shallow curve or a second ellipse, depending on the angle.
If you are drawing a mug seen straight-on, the top ellipse should be shallow, not dramatic. If you are drawing from above, the ellipse opens wider. That is the difference between a cup that looks like it is sitting on a desk and one that looks like it is being looked at from a café table. Small angle changes matter.
For people who want to compare shape language across real product photos, our sizing guides for cups are useful reference points too. They are written for shoppers, but they also help you understand how much body volume a mug carries visually. See 10 oz Coffee Mug: Size, Fit, and What to Check Before You Buy and 12 Ounce Coffee Mug Buying Guide for Daily Use and Better Fit for a practical look at proportions.
Where should the handle go so it looks believable?
The handle is what makes or breaks the sketch. If it is too close to the body, the mug looks cramped. If it is too far away, the handle looks detached. We usually place the handle so it attaches in two points on the right or left side, with a small open gap between the grip and the cup body.
A handle works best when it follows a gentle C-shape or D-shape. Keep the outer edge slightly thicker than the inner edge if you want a more substantial ceramic feel. A thin, uniform handle can work in a stylized drawing, but it often reads like a wire loop if the line weight is too delicate.
Use these checks:
- The handle should line up with the mug's center mass, not sit too high.
- The opening should be large enough to suggest an actual grip.
- The attachment points should feel anchored, not floating.
- The handle curve should echo the mug's body, not fight it.
Real mugs vary a lot here. A taller, straighter mug needs a different handle relationship than a rounded mug with a fuller belly. In our store, we see the difference immediately when a mug is photographed from the side versus at a slight angle. That visual shift is exactly what you want to capture in a sketch.
How do you draw coffee in the mug without making it look flat?
Coffee is usually drawn as a dark shape, but a flat dark shape is not enough. You need a clear top surface, a slightly darker interior edge, and a subtle reflection or highlight if the light source allows it. That gives the drink volume.
Do not draw the coffee line perfectly straight unless you are intentionally showing a still, level view. In most casual sketches, the liquid surface should match the mug's perspective. The back edge will usually be hidden or compressed, and the front edge may read more clearly.
A simple approach works well:
- Block in the coffee surface as an ellipse that matches the rim.
- Shade the body of the mug slightly darker under the rim to show depth.
- Leave a thin highlight strip if the ceramic is glossy.
- Use a soft gradient or layered pencil strokes for the coffee itself.
If you want the sketch to suggest a warm, everyday mug rather than a studio prop, leave some imperfections. A tiny unevenness in the rim or a slight variation in shading can make the drawing feel used and real. That said, this style is not ideal if you want a technical product drawing. For that, keep everything more symmetrical and controlled.
What details make the drawing feel like a real ceramic mug?
Three details usually do most of the work: rim thickness, wall thickness, and cast shadow. A ceramic mug has a visible lip, even if it is subtle. It also has thickness, so the rim should not be drawn as a single line only. And it should cast a shadow that helps it sit on the table.
We pay attention to these same things when checking mugs in hand. A mug with a very thin rim reads differently from one with a thicker, more casual lip. A rounded mug like Spittoon Coffee Tea Mug will suggest a different contour than a more tapered cup, which means your line work should adapt too.
Useful details to add if you want realism:
- A faint seam or variation in the glaze edge, if you are drawing a handmade look.
- A small ellipse inside the rim to show thickness.
- A soft oval shadow under the mug, not a hard outline.
- A slightly darker band where the handle meets the cup.
Do not overdo texture. A mug is not a brick wall. Too much surface noise makes the cup look dirty or damaged instead of ceramic.
What mistakes do we see most often?
The same errors show up again and again in beginner sketches, especially when the artist has drawn from a generic icon rather than a real mug.
- Handle too small: The mug looks toy-like.
- Rim too open: The cup looks like a bowl.
- Body too narrow: The mug becomes unstable visually.
- No shadow: The cup looks pasted onto the page.
- Perfect symmetry everywhere: The mug feels stiff and artificial.
There is also a practical limitation worth mentioning: not every mug works the same way on paper. A wide breakfast mug, a tall daily-use mug, and a sculptural coffee mug all need slightly different proportions. If your goal is a believable product-style sketch, pick one shape and commit to it instead of combining features from three different cups.
For buyers trying to understand those shape differences before shopping, our mug sizing articles can help with the real-world side of proportion: 11 oz Coffee Mug: Size, Fit, and What to Check Before You Buy is a useful companion when you are thinking about capacity and silhouette together.
Which mug shape is easiest to draw for beginners?
A simple straight-sided mug is usually the easiest place to start. The lines are cleaner, the perspective is easier to manage, and the handle can be placed with less visual guesswork. Rounded mugs are friendlier in real life, but they are a little harder to construct on the page because the body curves shift more noticeably with angle.
If you want a forgiving first sketch, use a mug with these traits:
- Medium height.
- Clear rim.
- Moderate handle size.
- Minimal surface decoration.
A more decorative mug can still be drawn well, but the pattern will distract from proportion work if you are still learning. That is why we usually recommend starting with a plain mug form, then adding styling later. If you want to browse options that show different body styles, the collection is a better starting point than chasing random reference images.
Frequently asked questions
How do you draw a coffee mug from the side?
Start with a tall rounded rectangle, then add a shallow ellipse at the top and a narrower base at the bottom. From the side, the handle usually sits slightly behind the body, so keep the overlap clear. Add a soft shadow underneath so the mug feels planted on the table.
How do you draw steam coming from a mug of coffee?
Use a few light, loose curves that rise and fade as they go upward. Keep the steam faint so it does not overpower the mug itself. If the cup is meant to feel warm and realistic, less is usually better than heavy, cartoon-like swirls.
What is the easiest mug shape to draw for beginners?
A straight-sided mug with a medium handle is the easiest because the geometry is simple and the perspective is easier to control. Avoid very tapered or heavily rounded cups until you are comfortable with ellipses. Those shapes can look distorted quickly if the angle is even slightly off.
How do you make a coffee mug drawing look more realistic?
Focus on three things: rim thickness, handle placement, and a believable shadow. Then add a subtle highlight or glaze reflection if the mug is ceramic. Realism comes from consistent proportions, not from adding more lines.
Should the coffee surface be a perfect oval?
Usually no. The surface should follow the same perspective as the rim, so it may look more compressed or more open depending on the angle. A perfect oval can work in a front-facing drawing, but in most views a slight perspective shift looks better.
What should you do next if you want a better reference?
If you are sketching for practice, draw one mug from the front and one from a three-quarter angle. That will show you where the handle shifts, how the ellipse changes, and how much shadow the base needs. If you are drawing with a real product in mind, compare a few actual mugs side by side before you start. Different body shapes solve different use cases, and that matters on paper as much as it does on a kitchen shelf.
For a simple next step, open the collection, pick one mug shape, and sketch it twice: once as a clean outline and once with coffee, shadow, and handle thickness added. That comparison will tell you more than trying to force a single perfect drawing on the first pass.
Read more
Inspirational Coffee Mugs: How to Choose a Gift That Gets Used
Inspirational coffee mugs should do more than look nice on a shelf. This guide shows which shapes, sizes, and details hold up for daily coffee, desk use, and gifting.
En savoir plus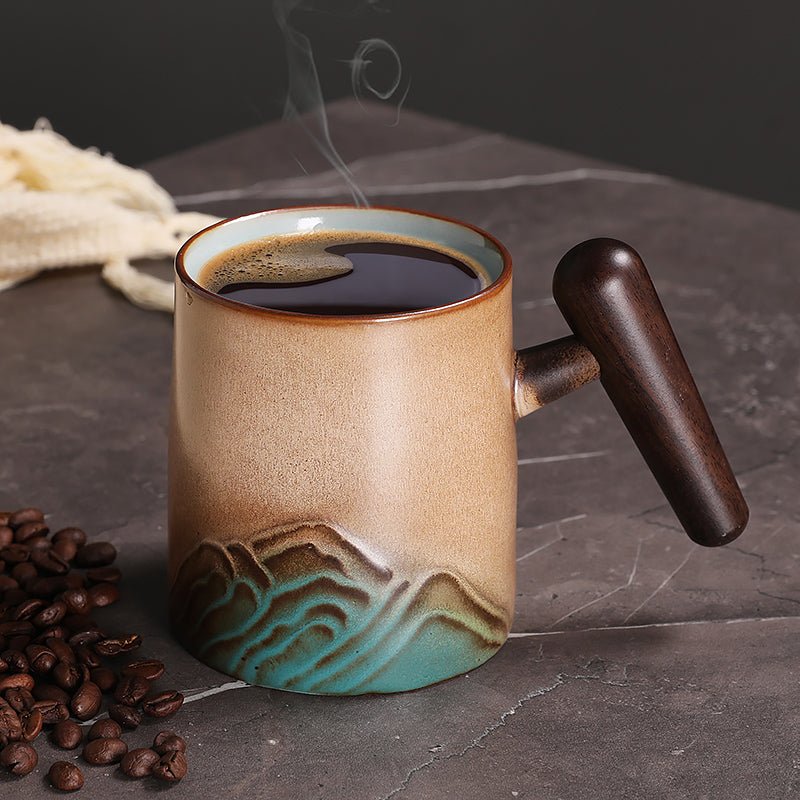
Large Ceramic Mugs: What to Check Before You Buy
Large ceramic mugs are useful only when the handle fits, the base sits steady, and the glaze can handle daily washing. We compare our store’s options and the checks that matter before you buy.
En savoir plus
Laisser un commentaire
Ce site est protégé par hCaptcha, et la Politique de confidentialité et les Conditions de service de hCaptcha s’appliquent.