Coffee Mug Painting: How to Choose a Mug, Paint, and Finish That Lasts
Reading time: about 9 minutes
A paint pen can look crisp on a flat test card and still feather on a curved mug rim. Glossy glaze changes the whole job, and a rushed cure can turn a clean design into something that chips after a few wash cycles.
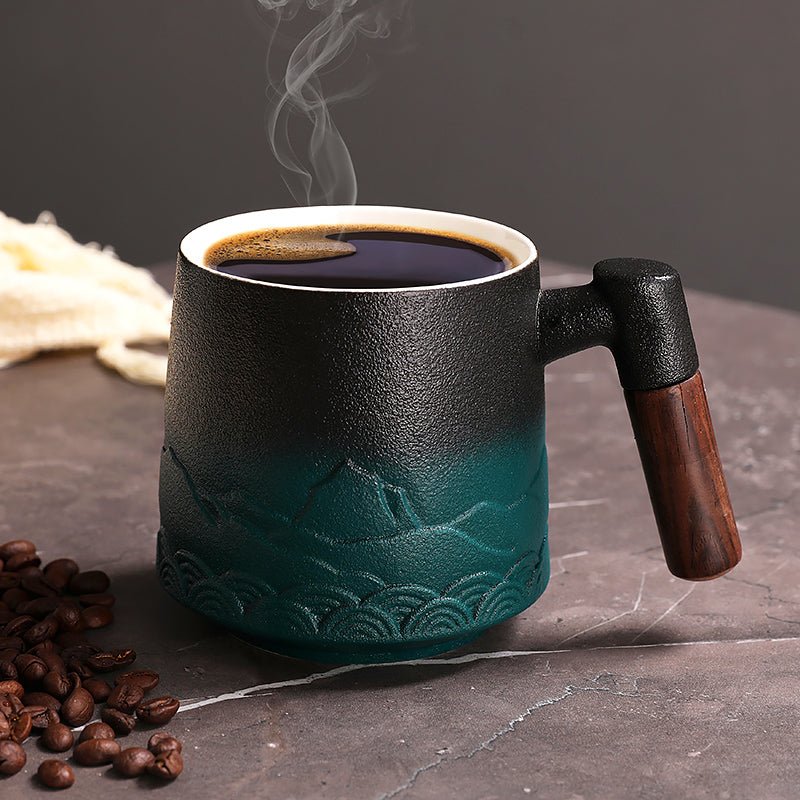
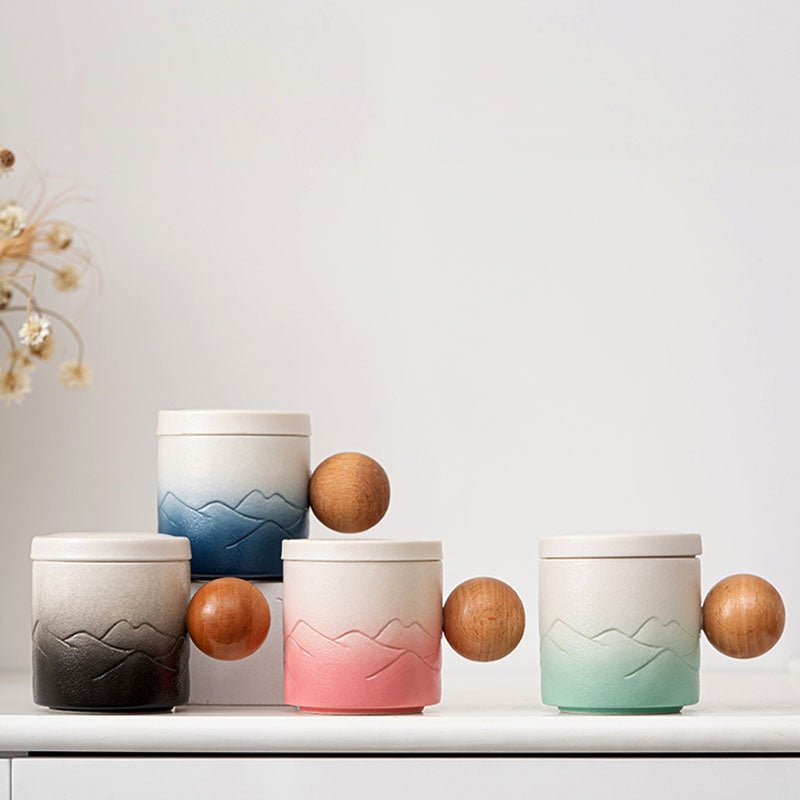
That is the part people usually do not see before starting coffee mug painting. In our store, we pay attention to the mug shape first because the shape decides where the artwork can sit, how the brush moves, and how easy the finished piece is to live with on a kitchen counter or office desk. If you want a few shape references before you buy, the Handbag Coffee Tea Mug, the White Golden Waves Tall Coffee Tea Mug, and the Mountain Tall Coffee Tea Mug show how different silhouettes change the painting area. Our all collection is the fastest way to compare shapes if you are deciding what to paint or what to gift.
If you want the deeper technical version of paint types and methods, we also cover that in Coffee Mug Painting: Materials, Methods, and What Holds Up.
Which mug shape works best for coffee mug painting?
The easiest mug to paint is usually one with a smooth, glossy, straight-sided body. Straight walls give you a cleaner visual line, less distortion in lettering, and more room for repeat patterns without fighting the curve. A tall mug can be excellent for vertical art, while a wide belly can make wraparound illustrations look stretched if you do not plan the layout first.
Here is the practical difference we look for before recommending a mug for painting:
| Shape | What it is good for | Trade-off |
|---|---|---|
| Straight-sided mug | Logos, lettering, simple icons, wraparound borders | Less sculpted character if you want a novelty look |
| Tall mug | Vertical art, mountain scenes, florals, stacked text | Less room for wide circular designs |
| Novelty or sculpted mug | Small accents, gift personalization, a single focal design | Harder to tape, harder to keep lines even, easier to miss spots near curves and handles |
The practical takeaway is simple: the more decorative the mug body already is, the less forgiving it becomes for paint. A novelty handle or heavy contour can look interesting on a shelf, but it is not the easiest surface if you want a crisp, repeatable result.
If you are also choosing size for comfort and desk use, our 12 oz Coffee Mug Buying Guide for Fit, Comfort, and Daily Use is useful because the same mug that feels right in the hand is usually easier to paint neatly.
What paint and tools actually hold up?
For mug surfaces, the paint choice matters as much as the design. A generic craft acrylic may look fine on day one, but it is not the same thing as a paint made for ceramic or enamel surfaces. We prefer to think in terms of three jobs: mark the outline, fill the shape, and protect the finish.
These are the tools and materials we would actually keep on the table:
- Paint markers for clean outlines, lettering, and small details.
- Enamel or ceramic paint if the label says it is meant for mugs or bake curing.
- Low-tack painter's tape for stripes, borders, and geometric blocks.
- Fine round brushes and one small flat brush for filling larger shapes.
- Isopropyl alcohol or mild dish soap for cleaning oils off the glaze before you start.
- Lint-free cloths so you do not leave fibers under the paint.
What we would not rely on for a drinking mug is thick craft paint on its own, especially around the rim or inside lip. If a paint brand does not clearly say it is suitable for ceramic use, assume it is decorative first and durable second. That is the kind of detail a buyer only finds out after a few wash cycles if they skip the label.
Thin coats usually behave better than one heavy coat. A heavy coat can skin over on the top while staying soft underneath, which is when fingerprints, tackiness, and uneven curing show up.
How do you prep the mug so paint sticks?
Prep is where most of the bad outcomes start. A mug that looks clean to the eye can still hold skin oils, dust, or glaze residue that makes paint bead up. We have seen this happen on office mugs, gift pieces, and kitchen-counter projects where the painter was careful with the design but skipped the wipe-down.
- Wash the mug with warm water and mild dish soap, then dry it completely.
- Wipe the paint area with isopropyl alcohol to remove oils and fingerprints.
- Mark the design lightly with a pencil or removable guide if the paint system allows it.
- Use low-tack painter's tape for straight edges, bands, or repeat shapes.
- Apply the paint in thin layers and let each layer set before adding the next.
- Follow the product instructions for curing, baking, or air-drying before use.
Two small habits help a lot. First, keep the rim and the area that touches the mouth free of non-food-safe materials unless the paint system is specifically rated for that use. Second, test your line work on the back or bottom side before you commit to the front-facing design. That gives you a read on how the brush behaves on that glaze.
If the mug has a very glossy glaze, paint can slide a little more than expected. That is not a defect in the mug; it is just the surface doing what glossy ceramic does. More control usually comes from slower strokes, thinner paint, and a cleaner surface, not from pressing harder.
What designs work best on different mug styles?
Not every design belongs on every mug. A detailed mountain scene can look great on a tall mug with a long uninterrupted wall, while a dense pattern or small monogram often works better on a narrower footprint. In our experience, the mug shape should decide the design scale, not the other way around.
This is the quick match-up we use:
- Vertical motifs: best on tall mugs, because the art can rise naturally without looking squeezed.
- Wraparound borders: best on straight-sided mugs, because the pattern stays even all the way around.
- Single icon or monogram: good on novelty mugs if the surface near the handle is still clear and easy to reach.
- Lettering: easiest on smooth glaze with a wide enough panel to keep the baseline steady.
The White Golden Waves Tall Coffee Tea Mug and Mountain Tall Coffee Tea Mug are useful examples of how a tall silhouette gives you a long canvas for a centered design. By contrast, a novelty shape like the Handbag Coffee Tea Mug is better if you want a playful accent rather than a full wraparound scene.
That is also why coffee mug painting is often easier on a mug with a simple profile than on one with lots of contour changes. A curved body adds character, but every curve is another place where a straight line can drift.
What usually goes wrong with painted mugs?
Most failures are predictable. They come from surface prep, the wrong paint, or too much ambition for the mug shape. Here is what we look for when a painted mug starts failing after the first few uses:
- Beading or streaking: usually caused by oils, dust, or paint that is too thin on a slick glaze.
- Chipping near the rim or handle: often from repeated contact, washing, or rough handling in a sink full of dishes.
- Smudging during cure time: happens when the mug is touched too soon or stacked before the finish has set.
- Color shift or dull patches: common when a topcoat is incompatible with the paint or when the heat cure is uneven.
The biggest limitation is simple: not every painted mug is meant to behave like a factory-finished mug. If a paint or sealant is not rated for repeated dishwashing, we treat the mug as hand-wash only. That is not a flaw in the process; it is the honest trade-off for a custom surface.
It is also not the best project for someone who wants a mug that can go through heavy daily dishwasher use with no care at all. If that is the goal, a ready-made decorated mug is usually the more practical choice than a DIY-painted one.
For buyers who want a finished piece rather than a project, our all collection is the better place to start.
Frequently asked questions
What paint is best for coffee mug painting?
Paint made for ceramic, porcelain, or enamel surfaces is usually the safest starting point. We look for a label that clearly explains whether it needs air-drying, oven-curing, or a sealant. Generic craft acrylic can work for decorative pieces, but it is not the first choice if you want better wash resistance.
Can I put a painted coffee mug in the dishwasher?
Only if the specific paint system and cure instructions say it is dishwasher-safe. Even then, top-rack washing and mild detergent are gentler than high heat and harsh cycles. If the paint was not made for that use, hand washing is the safer assumption.
Do I need to sand the mug before painting?
Usually no, not for a standard glossy ceramic mug. A proper wash and alcohol wipe are more important than sanding in most cases. Sanding can help on some specialty finishes, but on a finished drinkware mug it can also create more problems than it solves.
Is coffee mug painting food safe?
Not automatically. The painted area should stay off the rim and drinking surface unless the product is explicitly rated for food contact. Decorative paint on the outside of the mug is the safer route for most DIY projects.
How long should I wait before using a painted mug?
Follow the cure time on the paint label, not a guess from another project. Some finishes need a full day or longer, and bake-cure products need the specified oven cycle before the mug is handled like normal drinkware. Using it too early is one of the fastest ways to ruin a clean design.
What should you compare before you buy a mug to paint?
If you want the easiest path, compare the mug against this checklist before you start:
- Smooth glaze so paint and markers do not fight the surface.
- Straight or gently curved wall so lettering and borders stay readable.
- Enough blank space between the handle and the main body for your design.
- Clear care instructions so you know whether the finished piece should be hand washed.
- Shape that matches the art, such as tall for vertical scenes or simple cylindrical for wraparound work.
If you want a mug that is easier to decorate and easier to live with afterward, start with the shape first and the artwork second. Browse our all collection and compare smooth, simple silhouettes before buying paint or sketching the design. That saves time, reduces failed first tries, and gives you a better finished mug on the counter or at the desk.
More from our blog
Read more
Inspirational Coffee Mugs for Daily Use and Gift Buying
Compare inspirational coffee mugs by shape, feel, and everyday practicality before you buy. See which styles work best for desks, gifts, and regular home use.
En savoir plus
Giant Coffee Mugs: Size, Shape, and Buying Guide for Daily Use
Our giant coffee mugs guide compares size, shape, handle comfort, material feel, and cleanup so you can choose a mug that works at the desk, sink, and microwave.
En savoir plus
Laisser un commentaire
Ce site est protégé par hCaptcha, et la Politique de confidentialité et les Conditions de service de hCaptcha s’appliquent.