
How to Draw a Coffee Mug: Shape, Handle, and Real Proportions
Reading time: about 9 minutes
A mug on a kitchen counter looks simple until you try to draw it. The rim turns into a flat oval, the handle drifts out of alignment, and the body stops feeling like a real object the second perspective enters the picture. That is usually where a sketch goes from believable to generic.
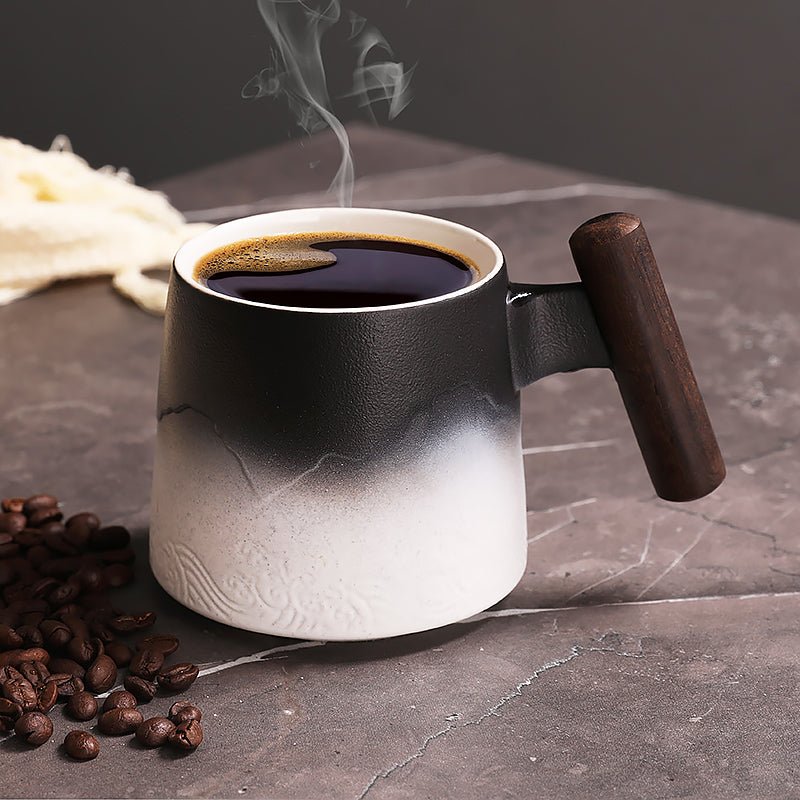
We handle mugs every day in our store, so we pay attention to the small things shoppers notice in real life: the way the rim thickness changes the silhouette, how the handle attaches to the body, and how a tall mug reads differently from a short, wide one. If you want a better reference while you practice how to draw a coffee mug, start by looking at a few distinct shapes, such as our Rhombus Coffee Tea Mug and the rest of our full mug collection.
What makes a coffee mug hard to draw accurately?
A coffee mug is basically a cylinder with a handle, but that simple description hides three parts that need to agree with each other: the top ellipse, the side walls, and the handle attachment points. If any one of those is off, the drawing feels awkward. The most common miss we see is a rim that is too circular. On the page, a real mug usually reads as an ellipse because you are looking at the opening from an angle, even if only slightly.
The second issue is handle placement. A handle is not a sticker on the side of the mug. It has thickness, a gap, and two anchor points that sit on the body. The third issue is proportion. A tall mug, a short diner-style mug, and a more angular silhouette all need different width-to-height relationships. If you want a more detailed breakdown of that structure, our article How to Draw a Mug of Coffee: Shape, Handle, and Real-World Proportions goes deeper on the form itself.
| Common mistake | What it looks like on paper | Better fix |
|---|---|---|
| Rim drawn as a circle | The mug looks top-down even when it should not | Flatten the top into an ellipse that matches your viewing angle |
| Handle drawn too thin | The mug looks fragile or pasted on | Give the handle width, depth, and a visible inner gap |
| Side walls are perfectly vertical by default | The mug feels stiff and diagram-like | Check whether the body tapers slightly toward the base |
How do you block in the mug shape first?
Start with the mug as a simple form, not as a finished object. Draw a light vertical centerline, decide the height, then sketch the top ellipse. After that, pull the side walls down from the ellipse edges. At this stage, the mug should still look plain. That is the point. You are building the structure first, not decorating it.
- Mark the overall height and width with very light construction lines.
- Draw the top ellipse using the angle you actually see, not the angle you imagine.
- Drop the side walls straight down or with a slight taper, depending on the mug.
- Add a thin base line so the mug does not float on the page.
- Place the handle attachment points only after the body feels stable.
If you want to compare different body styles while you sketch, open our collection of all mugs in another tab and look at how the silhouettes change from one piece to the next. A tall mug and a compact mug demand different ellipse widths, even before you add detail.
One practical test we use in our own review process is this: if you remove the handle, does the cup still read as a coffee mug? If the answer is no, the body proportion is probably too vague or too extreme.
How do you draw the handle so it looks attached, not pasted on?
The handle should feel like it was formed with the mug, not glued on afterward. The cleanest way to draw it is to map the outside curve first, then the inside curve, and keep the spacing consistent. The attachment points usually sit slightly above the midpoint of the mug body, although that changes with a taller or more sculptural shape.
Handle thickness matters more than most beginners expect. A handle that is too narrow looks delicate in a bad way, while one that is too thick can overpower the whole mug. The open space inside the handle should be large enough to read clearly, but not so large that the handle looks disconnected from the body. A bag-inspired silhouette such as our Handbag Coffee Tea Mug is a good reminder that the handle can change the whole personality of the form.
- Keep both attachment points on the same perspective plane.
- Leave a clear gap between the handle and the mug body.
- Mirror the handle curve only loosely, because real handles are rarely perfectly symmetrical in a sketch.
- Thicken the outer edge slightly if you want the handle to feel ceramic rather than wire-like.
A good handle sketch should still make sense if you blur your eyes. If it disappears into the body, it is too narrow. If it looks like a separate hoop, it is probably too far away from the mug.
Which mug shapes are easiest to practice first?
For practice, start with a simple straight-sided mug, then move to a slightly tapered one, then try a more distinctive form. That order teaches you perspective without making the drawing feel overcomplicated too soon. A standard mug is forgiving. A stylized mug exposes mistakes faster, which is useful once the basics are in place.
We like using more distinctive shapes as practice references because they force you to look at proportion, not just outline. The angular lines of our Rhombus Coffee Tea Mug are useful if you tend to round everything off automatically. A taller silhouette like our White Golden Waves Tall Coffee Tea Mug is better when you want to practice how height changes the read of the top ellipse and side walls.
| Shape | What it teaches | Trade-off |
|---|---|---|
| Straight-sided mug | Basic cylinder construction | Can feel plain if you only practice this one shape |
| Tall mug | Vertical proportion and ellipse control | Perspective mistakes show up quickly |
| Angular mug | Edge control and silhouette accuracy | Less forgiving for beginners |
If you are still learning the basics, do not start with the most decorative mug you can find. A highly stylized piece is better after you can confidently draw a clean cylinder, because decoration can hide proportion problems instead of fixing them.
How do you shade a mug so it looks like ceramic?
Shading a mug is mostly about reading the light source correctly. Ceramic tends to show a cleaner highlight than paper, fabric, or raw clay, so the bright area should look deliberate, not fuzzy. The darkest values often sit in three places: under the rim lip, under the handle attachment, and along the cast shadow where the mug meets the table.
On a kitchen counter or office desk, the cast shadow tells the viewer that the mug is sitting on a real surface. Keep that shadow attached to the base, then let it soften as it moves away from the object. If the mug is glossy, preserve one sharper highlight on the shoulder or rim. If it is matte, soften the transitions and avoid too much shine.
- Pick one light direction and stick to it.
- Darken the interior of the mug opening slightly to show depth.
- Leave a narrow highlight on the rim if the surface is glazed.
- Use a softer edge on the far side of the body to push it back in space.
This is also where real-world handling matters. A mug that looks perfect in outline can still feel flat if the shading does not explain thickness. Even a simple line at the inner rim can change the drawing from a sketch of a shape into a drawing of a physical object.
What details should you keep, and what should you leave out?
Do not try to put every tiny imperfection into the drawing. A coffee mug sketch needs readable structure first. Small chips, logo marks, or decorative flourishes can wait until the base form is solid. If you add too much surface detail before the proportions are right, the drawing starts to work against you.
We usually keep three things, even in a fast sketch: the top ellipse, the handle attachment, and the shadow under the mug. We usually leave out very small texture marks unless the mug itself is the subject. That trade-off matters. A mug that is used as a background prop in a larger scene should stay clean and simple. A mug that is the hero object can carry more edge detail and surface variation.
If you want a buying-oriented view of how mug shape affects use as well as appearance, the size guides in 10 oz Coffee Mug: Size, Fit, and What to Check Before You Buy and 12 Ounce Coffee Mug Buying Guide for Daily Use and Better Fit are useful companions. They help you see why a mug drawn as a reference often feels different from one drawn for a product page or a daily-use setup.
Our store perspective: in our experience, the most convincing mug drawings are not the most detailed ones. They are the ones that get the angle, thickness, and handle placement right, then stop before the sketch gets noisy.
Frequently asked questions
What is the easiest way to draw a coffee mug for beginners?
Start with a simple cylinder and add the handle last. Keep the top as an ellipse, not a circle, and make the side walls straight enough to read clearly. Beginners usually improve fastest when they focus on proportion first and decoration second.
How do you draw the inside of a mug rim?
Draw a second, smaller ellipse inside the top opening to show wall thickness. Keep the inner ellipse slightly offset if the mug is turned in perspective. That small difference makes the mug feel three-dimensional.
Should the handle match the mug angle exactly?
No. The handle should follow the mug's perspective, but it should still have its own curve and thickness. If you force perfect matching, the handle can look stiff and artificial.
What mug shape is best for practicing perspective?
A plain straight-sided mug is the best first choice because it shows perspective clearly without adding extra visual noise. After that, a taller mug or a slightly tapered mug is a good next step. Angular shapes are useful later because they punish sloppy construction.
How do you make a mug look 3D without over-shading?
Use one clear light source, keep a visible highlight, and add a cast shadow where the mug touches the surface. You do not need heavy shading everywhere. A few controlled value changes will do more than filling the whole mug with tone.
Before your next sketch, compare three real shapes side by side: a standard mug, a taller mug, and a more angular one. Our mug collection is the easiest place to do that, and it will give you a better reference than drawing from memory alone.
Read more
Dallas Cowboys Coffee Mugs: How to Choose the Right One
A practical guide to Dallas Cowboys coffee mugs with fit, care, and gift-buying trade-offs explained clearly. Use it to pick a mug that looks good on the desk and still holds up to daily use.
Leer más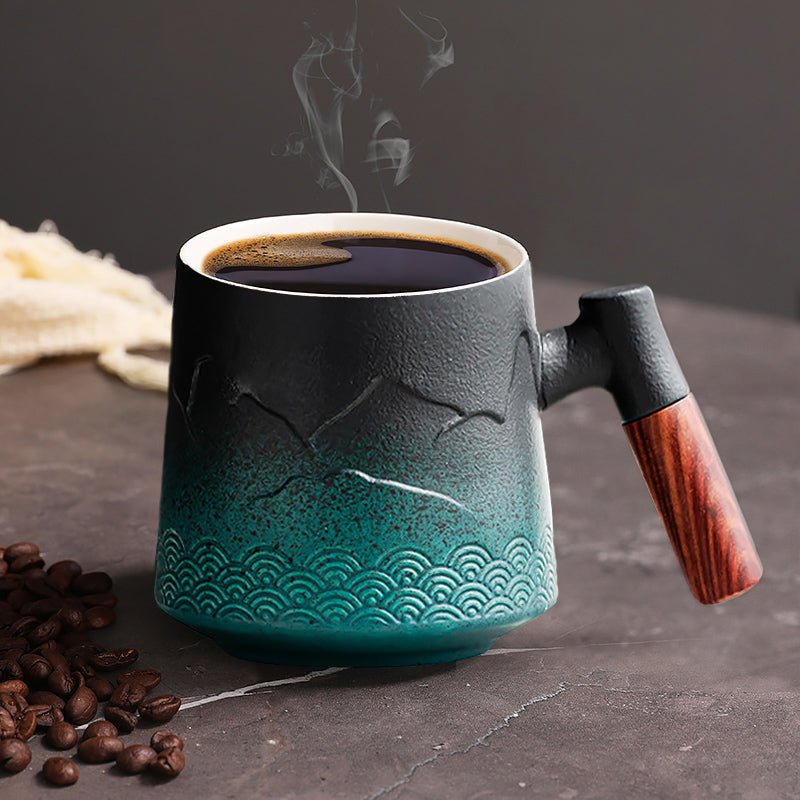
Coffee Mugs with Sayings: How to Pick One That Feels Good to Use
We break down what makes coffee mugs with sayings worth buying: handle comfort, print quality, shape, and the small details that matter on a kitchen counter or office desk.
Leer más
Dejar un comentario
Este sitio está protegido por hCaptcha y se aplican la Política de privacidad de hCaptcha y los Términos del servicio.